Floors are subjected to high traffic inside a house, which takes a toll on them. And just like that, with time, your floors start changing. They can lose their shine and possibly break once they live past their age. All sorts of floors need maintenance after some time, but there is something that ensures effective and efficient maintenance. Floor strip and wax should be done once or twice a year if you want a shiny floor finish. But to achieve a perfect finish, here are some steps to follow.
1. Preparation and Planning
The primary step in stripping and waxing floors is identifying the sections and kinds of flooring you wish to treat. Different industrial flooring types need different waxes and stripping solutions. For example, you might need different waxes for hardwood floors, and for tiles, you might prefer other finishes. Once you have found the proper floor stripper and wax, make sure that you have all the tools ready. Start your preparation by removing the objects that might create a blockage during your waxing procedure. These objects can be furniture and other items. Also, you need to ensure that once you have started the procedure, the floors aren’t subjected to traffic anymore.
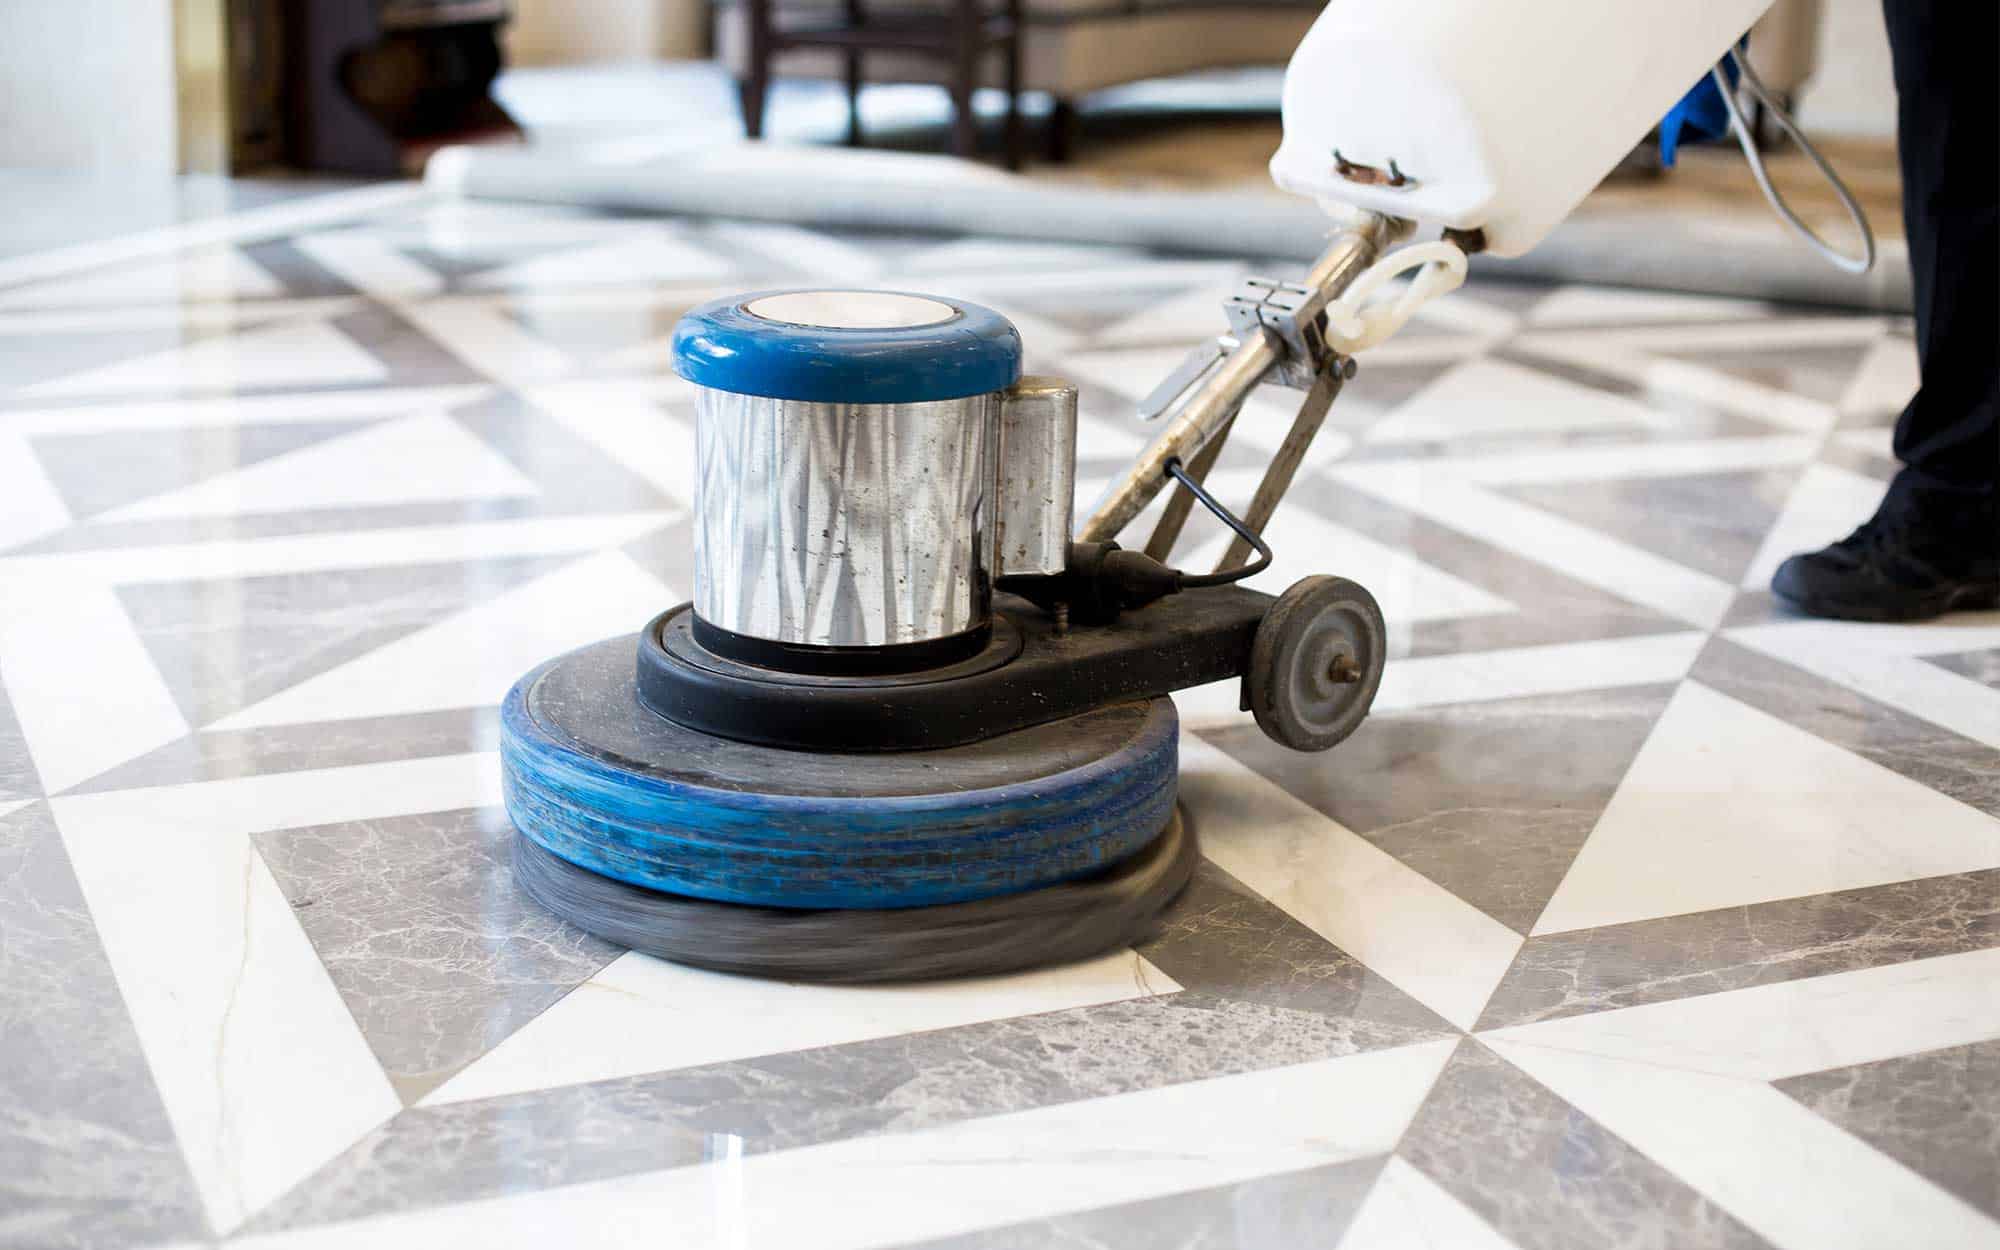
2. Strip the Existing Wax
First, you will need to strip all the existing floor wax to apply an even coat of the new wax. You can simply achieve this by renting a buffing machine and applying a stripper pad to its bottom. The major objective should be to strip every inch of the existing wax so that you have a vacant floor left behind. However, this is often the most time-consuming step, yet it is the basic and most important one. If you don’t strip the entire floor wax, you won’t get a smooth surface once you apply the new wax. If you are using a stripping solution, ensure that you follow the manufacturer’s guidelines. To avoid damages, it is better to check the stripper solution in a low-risk area.
3. Rinse the Floor to Neutralize the Stripper
After removing the old wax with a stripper, you have to clean the floor with a wet wipe and warm water. After rinsing the floors thoroughly, you should use a fan or a wet vacuum to dry the surface so that any residual stripper is removed. After that, use a neutralizer to make sure that the surface is free from any stripping chemicals. These chemicals can harm the surface once they are mixed with wax.
4. Completely Dry the Floor
After applying the neutralizer, dry the floor again using a fan or a vacuum. Once the floor gets dry, make sure that it isn’t subjected to any kind of traffic as dirt can be harmful to the surfaces once it is mixed with the floor wax.
5. Wax Application
When you have stripped the floor thoroughly, and it is in a suitable condition, you can apply the wax. You must apply the correct wax, which is entirely dependent upon the type of floor you have. At least ten layers of wax should be applied to any kind of floor if you want to achieve a long-lasting fresh, and shiny appearance.
6. Application of a Floor Finish
If you want to avoid scratches and dirt on your floors, you must apply a final layer of a floor finisher on top of the wax layer. This is one of the final steps missed by most people who then deal with continuous scratches.
7. Buffing
At last, use a buffing solution to buff the entire floor. This will help get rid of all the debris that might have been accumulated on the floor when you were applying the wax. Regularly buffing the floor guarantees a long-lasting shine on them.
Floors like hardwood, tiles, and lamination might wear down with time. As they are porous, they accumulate dirt and need a lot of effort to get cleaned. The method of waxing is meant to provide a solution for these problems. With a layer of wax, your floors will remain protected against dirt and debris, guaranteeing a shiny look.